Growing your own Blue Oyster mushrooms is exciting. But if you’re new to mushroom cultivation, you might wonder where to begin.
The good news? Blue Oyster Mushroom Liquid Culture is one of the easiest and most reliable ways to start. It contains live, healthy Blue Oyster mushroom mycelium that quickly colonizes sterilized grain, making it one of the most reliable mushroom liquid cultures for home and commercial growers.
In this guide, we’ll walk you through the entire process—from preparing your workspace to successfully inoculating grain. Let’s get started.
- What Is Blue Oyster Mushroom Liquid Culture?
Blue Oyster Mushroom Liquid Culture is a sterile nutrient solution containing live Blue Oyster mushroom mycelium. Instead of starting with mushroom spores, you’re working with active mycelium that’s already growing.
This means faster colonization, more consistent results, and a better chance of success.
Whether you’re growing mushrooms as a hobby or planning a small farm, liquid culture makes the process much simpler.
The mycelium grows in a nutrient-rich liquid medium and is later used to inoculate grain spawn, which can then be transferred to substrates like pasteurized straw or hardwood sawdust for fruiting.
Beginner Tip: Always buy liquid culture from a trusted supplier to reduce the risk of contamination.
- Why Choose Liquid Culture Instead of Spores?
Many beginners ask this question.
While mushroom spores can grow into mycelium, they take longer and require more patience. Liquid culture already contains established mycelium, so it starts growing almost immediately after inoculation.
Here are a few benefits:
- Faster colonization
- Better success rate
- Easier for beginners
- Consistent mushroom genetics
- Less waiting time
Since the mycelium is already active, growers usually experience faster colonization and more uniform growth than when starting from spores.
- What You’ll Need
Before you begin, gather these essentials:
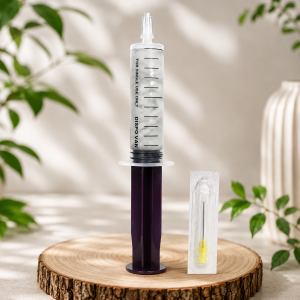
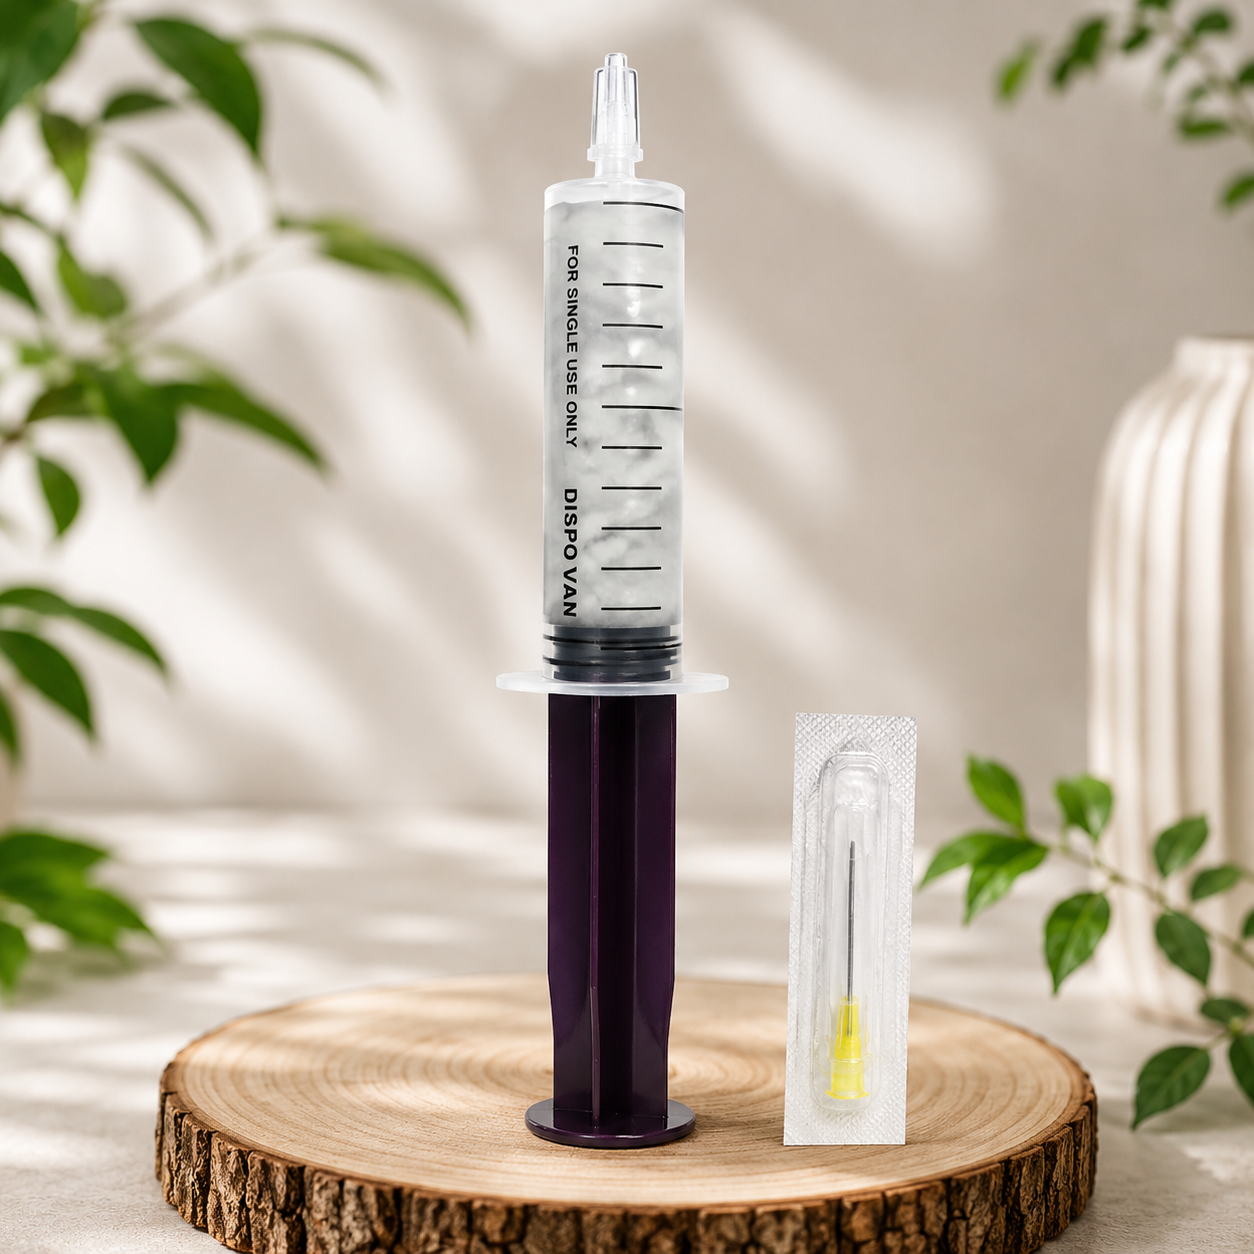
- Blue Oyster Mushroom Liquid Culture syringe
- Sterile grain bag or grain jar with a self-healing injection port
- Sterile needle
- 70% Isopropyl Alcohol for surface sterilization
- Disposable gloves
- Marker for labeling
- A clean workspace
- Tissue paper
- Mask
Having everything ready before you start helps reduce the chance of contamination.
- Step-by-Step Guide to Using Blue Oyster Mushroom Liquid Culture
Step 1: Clean Your Workspace
Mushroom cultivation depends on cleanliness.
Wipe your work surface with alcohol and wash your hands thoroughly. If possible, wear clean gloves and avoid working near open windows or fans.
The cleaner your environment, the better your chances of success.
Step 2: Check the Liquid Culture
Look at the syringe before using it.
Healthy liquid culture usually contains white, thread-like mycelium floating in the solution. The liquid should not have unusual colors or unpleasant smells.
If anything looks suspicious, don’t use it.
Step 3: Gently Shake the Syringe
The mycelium naturally settles over time.
Gently shake or swirl the syringe until the mycelium spreads evenly throughout the liquid. This helps distribute healthy mycelium during inoculation.
Avoid shaking too aggressively.
Step 4: Sterilize the Needle
Attach the sterile needle securely to the syringe. Before inoculation, flame-sterilize the needle until it glows red using a lighter or alcohol lamp, then allow it to cool for a few seconds. This helps kill any microorganisms on the needle and greatly reduces the risk of contamination.
Step 5: Insert the needle through the self-healing injection port
Insert the needle through the injection port of your sterile grain bag or jar.
Inject a small amount of liquid culture slowly. There’s no need to overfill. A little goes a long way.
Once finished, remove the needle carefully and seal the container if needed.
Expert Tip: Label each grain bag with the mushroom variety and inoculation date. It makes tracking growth much easier.
Step 6: Incubate the Grain
Place the inoculated grain in a clean place with a stable temperature suitable for Blue Oyster mushroom mycelium.
Avoid direct sunlight and don’t move the container unnecessarily.
Now comes the hardest part—waiting.
Step 7: Watch for Colonization
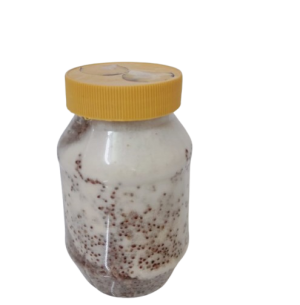
Over the next few days or weeks, white mycelium will begin spreading through the grain.
Healthy mycelium looks bright white and grows evenly.
If you notice green, black, or foul-smelling growth, contamination may have occurred.
Patience is important. Let the mycelium fully colonize the grain before moving to the next stage of mushroom cultivation.
- Common Mistakes Beginners Make
Almost every grower makes mistakes in the beginning. The good news is they’re easy to avoid.
- Working in an unclean environment
- Using contaminated grain
- Injecting too much liquid culture
- Opening the grain bag repeatedly
- Storing liquid culture at room temperature for long periods
- Touching sterile equipment with bare hands
Paying attention to cleanliness is often the biggest difference between success and failure.
- How to Store Blue Oyster Mushroom Liquid Culture
If you’re not using the entire syringe immediately, store it in the refrigerator.
Keep the protective cap on and avoid freezing it. Freezing can damage the living mycelium.
Proper storage helps maintain the culture’s quality for future use.
- Frequently Asked Questions
- How long does Blue Oyster Mushroom Liquid Culture take to colonize grain?
Colonization time depends on temperature, grain type, and growing conditions. Healthy liquid culture generally colonizes faster than spores.
- Can beginners use Blue Oyster Mushroom Liquid Culture?
Yes, but only if proper sterile techniques are followed. Beginners should work in a clean, sanitized environment using sterile grain and equipment. Learning the basics of contamination control before inoculation will greatly improve the chances of success.
- Can I inject liquid culture directly into straw?
No. Liquid culture is typically used to inoculate sterilized grain first. The fully colonized grain spawn is then transferred to a suitable bulk substrate.
- How do I know if my liquid culture is contaminated?
Healthy mycelium is usually white. Unusual colors, foul odors, or cloudy contamination are signs that the culture should not be used.
Start Growing with Confidence
Learning how to use Blue Oyster Mushroom Liquid Culture isn’t as difficult as it may seem. With clean equipment, good sterile practices, and a little patience, you’ll be well on your way to producing healthy grain spawn and growing beautiful Blue Oyster mushrooms.
Whether you’re growing mushrooms at home or taking your first steps into commercial cultivation, starting with a high-quality liquid culture can make the journey much smoother.
At MushroomGroov, we provide premium, carefully prepared Blue Oyster Mushroom Liquid Culture to help growers across India cultivate with confidence.
Still confused about taking the first step? At MushroomGroov, we just don’t sell Liquid Cultures, we also give guidance to our buyers. Feel free to ask and order your first Blue Oyster Mushroom Liquid Culture.